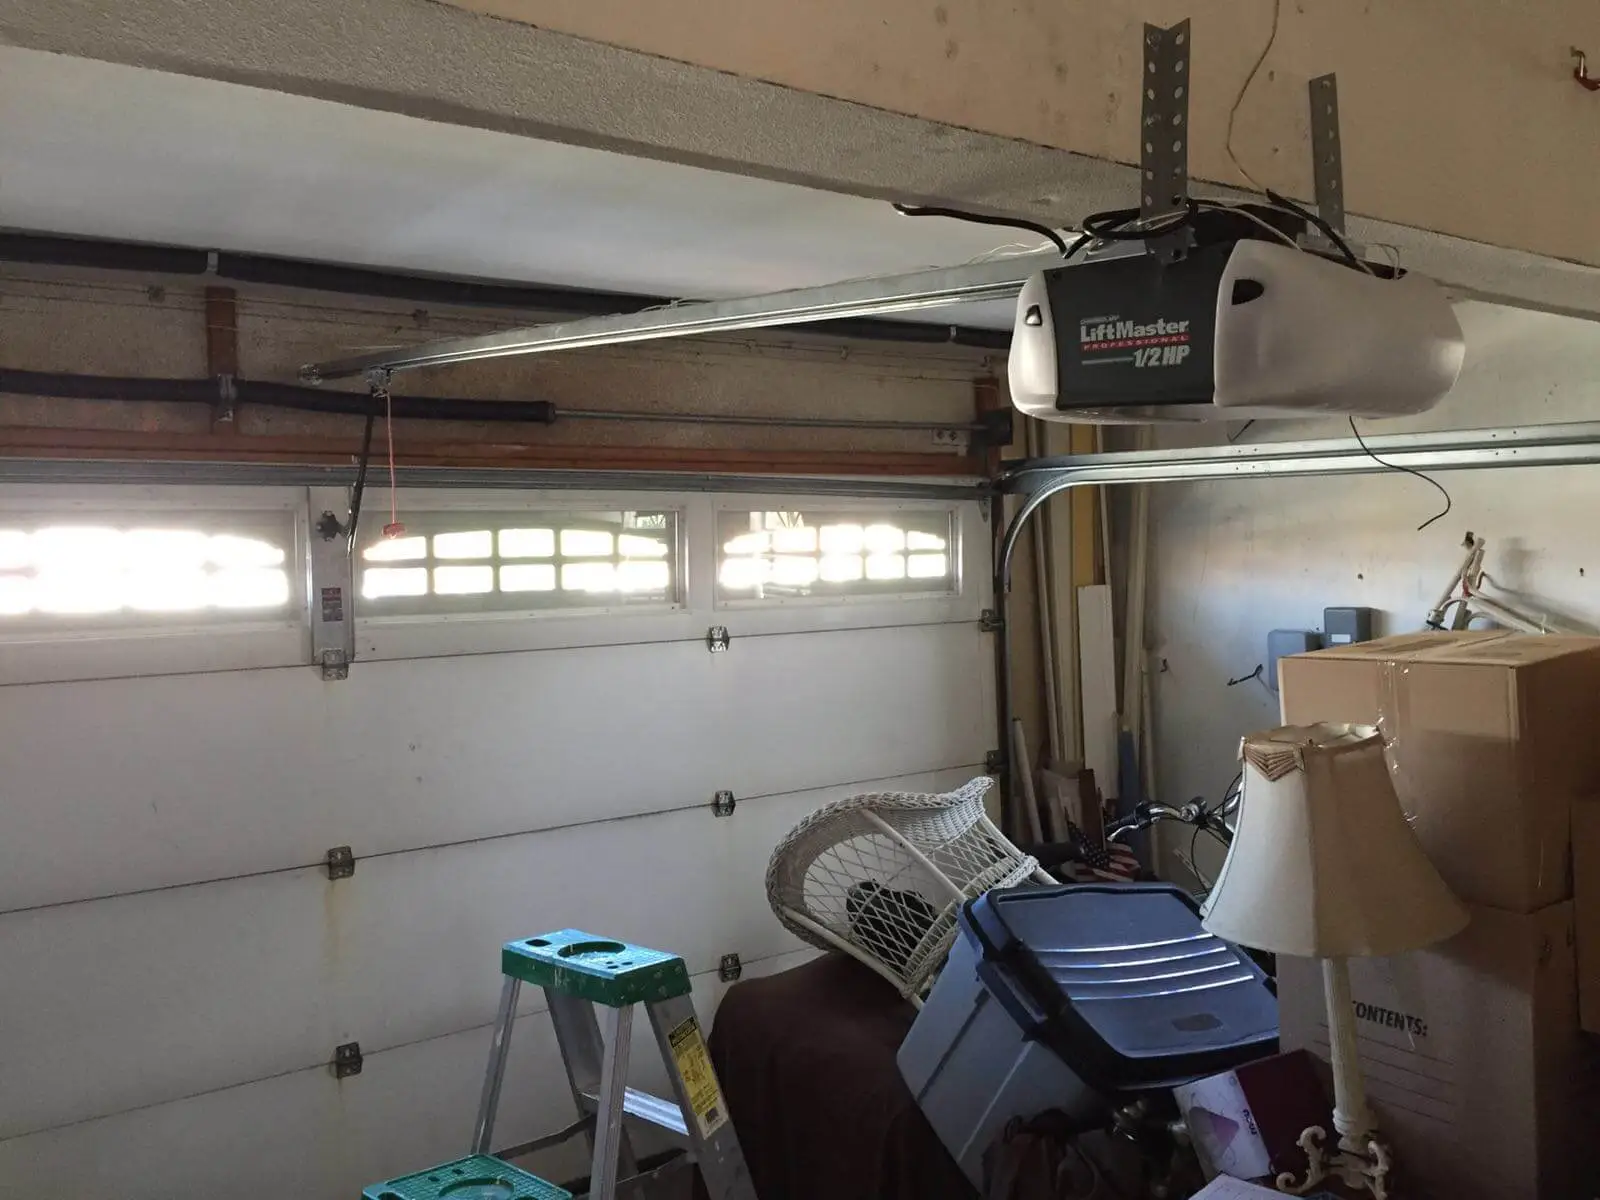
You know that dreaded clicking sound your garage door opener makes when it’s trying to lift the door but just can’t seem to? Yeah, been there and it’s no fun. For a couple weeks mine had been making loud, repetitive clicking noises and struggling to open the door more than a foot or so. Frustrating for sure, especially on cold winter mornings when you’re just trying to get in or out of the garage ASAP! After battling with it unsuccessfully, I knew it was time to diagnose the problem.
Content
Where to Start
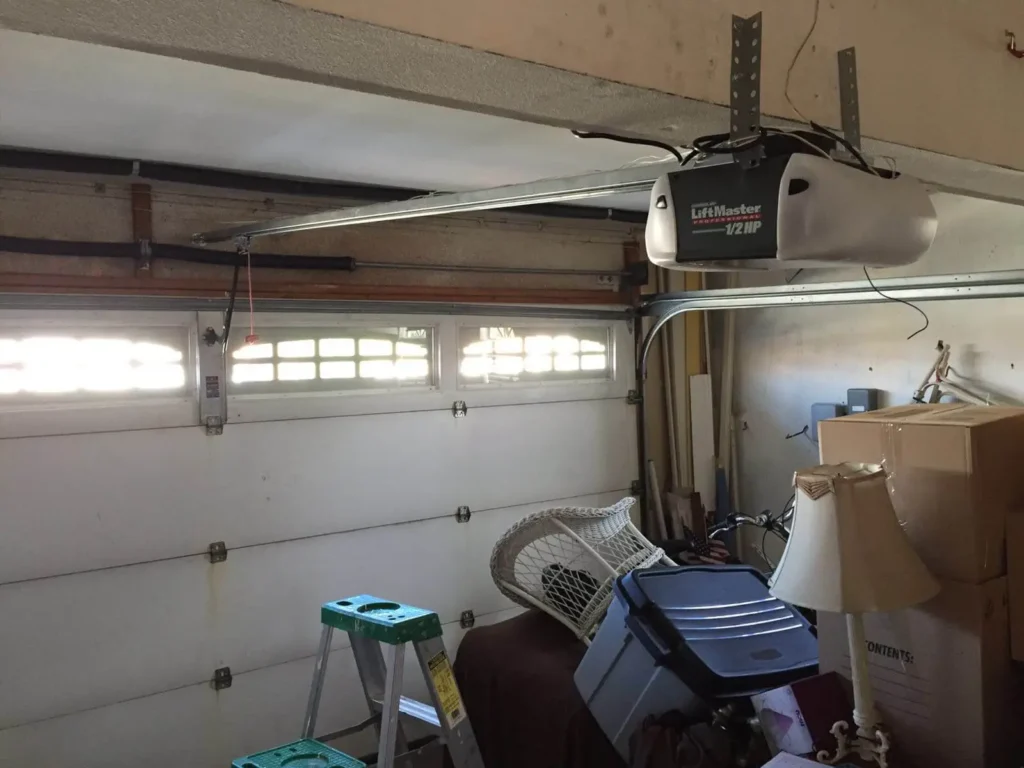
The first step was ruling out simple issues like a stuck or damaged door, or problem with the photo eyes. I tested the safety sensors and checked that the door tracks and hardware were clear of any obstruction. Both looked good, so the fault was likely in the opener itself. Next, I pressed the remote button while standing under the unit to carefully listen. The clicking was definitely coming from the motor housing area. Hmm, this pointed to potential motor problems.
Signs of a Failing Motor
To confirm my suspicion, I did some online research about common garage door opener motor symptoms. Repetitive clicking or buzzing during operation is a telltale sign the starter capacitor, drive gear, or motor itself may be worn out. Other red flags include strange noises, failure to fully open/close the door, or needing many button presses to trigger. Yup, all symptoms my unit was exhibiting! To properly diagnose, the next step was removing the cover and inspecting components.
Checking the Motor
With the door disabled for safety, I unscrewed the few bolts holding the motor compartment lid in place. Once off, I could clearly see the motor was definitely the culprit – it made grinding noises if I manually turned the drive gear and bogged down heavily. Plus some visible rust/wear on the drive chain indicated it had seen better days. In summary, my old friend was kaput. Rather than messing with repairing, I decided the best choice was motor replacement.
New Motor Installation
As with many garage door tasks, replacing an opener motor turned out to be a pretty straightforward DIY project if you have basic mechanical skills. I ordered a universal replacement off an online retailer, then watched a tutorial video to see the removal/installation process. After disconnecting power and taking safety precautions, taking the old unit out only required removing nuts and connectors. Slid the new one partially in, reattached wires and brackets, then slid it into place and bolted the housing lid back on securely. Time to test and…
The Big Moment
I reconnected power to the unit and gave the remote a press with both excitement and apprehension. To my relief, the new motor powered up smoothly, and the door began gliding up quietly without any clicking! Success! No more frustration – just fully functional garage door operation once again. A very satisfying outcome and well worth the time/money versus a service call to Garage Door Opener Repair in Williamsburg. Sometimes replacing a worn component is all it takes to restore functionality.
A Few Final Thoughts
This experience taught me to pay attention to subtle operational changes – they may indicate an underlying issue progressing. Catching problems early helps prevent more extensive damage down the road. It also affirmed my ability to confidently tackle smaller appliance/motor repairs myself with some research. If you find yourself dealing with repeated clicks or struggles with opening, definitely inspect the opener internals as a failing motor might be the culprit. With basic tools and online guidance, you too can potentially resolve a bothersome problem easily. Just be safe and don’t hesitate to call the pros if it seems beyond your DIY skill level. Hope this helps if you ever face garage door opener troubles!

My name is Author Name. I post about home improvement ideas and how to make your home look beautiful and liveable. I hope my posts will help you with your DIY projects!
